o frabjous day!
books, recipes, parenting & other things
Category: Recipes
-
I tried this recipe as part of my “Lunchbox Treats with Something Extra” experiment – that is, baking sweet treats for the kids’ lunchboxes that aren’t too high in sugar and include veggies (or in this case, beans for extra protein) – and it was a resounding success. I know baked goods with beans sometimes…
-
What I want most from a lemon muffin, or cake, is plenty of bitey zesty lemon-ness, and these muffins are just perfect. They have a delightful zing from all the lemon zest, and then the addition of lemon syrup poured over the warm muffins gives them the perfect extra lemony twist. The recipe is mostly…
-
This is a bit of a mash-up of recipes for lemon drizzle cake and a Swiss buttercream icing recipe from Smitten Kitchen that makes a wonderfully decadent layered birthday cake. The cake is intensely tangy and lemony, and the icing is rich and creamy without being overly sweet (and pipes on beautifully if you’re going…
-
These are lovely spiced slightly crunchy gingerbread biscuits, adapted from a classic recipe in The Joy of Cooking. They’re great to make with children – the dough is easy to mix up, it involves melting butter in a saucepan (a big plus according to my four year old), they can press shapes out of the…
-
This is very barely adapted from Hungry and Frozen’s scone pizza recipe (I added some thinly sliced zucchini and crumbled feta to the original recipe) and is very much as it sounds; a delicious scone-like base (although significantly easier to make than scones, as it doesn’t involve rubbing butter time-consumingly into flour) with a gorgeous…
-
“They strolled back to their pension where a meal was awaiting them of wonderful pastries, ivory butter piled thickly on fancy bread twists, and what Mary-Lou called “lashings of coffee and cream”.” (from Theodora and the Chalet School) Sweet bread twists are frequently mentioned in the Chalet School books, either being served to students during…
-
Originally I thought that this wasn’t really a gelato because it has cream in it, but I’ve since looked it up and realised that gelato does indeed usually contain cream/milk fats, just less than what we commonly term “ice-cream”. I have therefore spent my whole life living a lie when it comes to the definition…
-
This is a recipe from Dan Lepard’s Short and Sweet which is actually entitled “Dark Chocolate Chunk Cookies”. I know this is much more alliterative than my version, but saying “cookies” makes me feel un-Australian. Biscuits it is. They’re extremely chocolatey and rich and magnificent. Lepard suggests using them for ice-cream sandwiches, but honestly despite my…
-
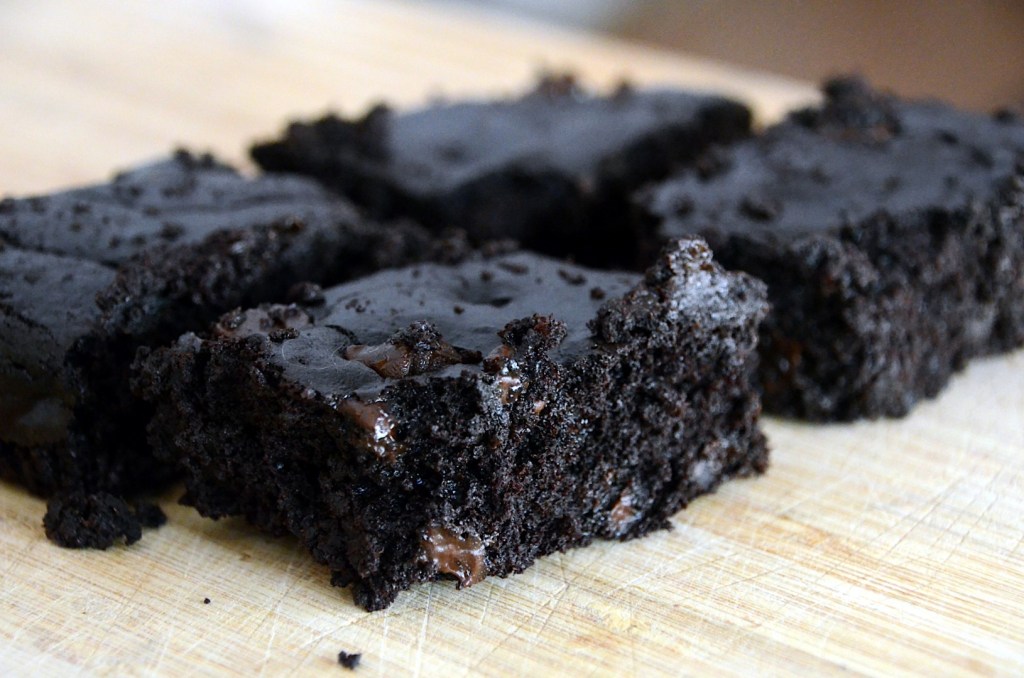
This recipe is from Dan Lepard’s Short & Sweet, and makes a wonderfully unassuming loaf cake with a rich chocolate flavour and molasses-like sweetness from the brown sugar. He notes that cakes with a high proportion of fat and sugar to flour are susceptible to sinking, which as you can see mine did. Lepard’s suggestions…
-
This is another recipe from Annabel Crabb’s Special Delivery cookbook. These are fairly sweet and more of a gift biscuit (in keeping with the theme of the cookbook) than an everyday sort of biscuit. You should be able to substitute any combination of dried fruit, nuts and chocolate you like – the original recipe uses…
